

Key Takeaways
- Paint failure is almost always caused by poor surface preparation, not low-quality paint.
- Cleaning, sanding, and priming are three non-negotiable steps before applying any finish coat.
- Skipping prep steps leads to peeling, bubbling, and adhesion failures within months.
- Most surface prep tasks require only basic tools and can be done without professional help.
- Primer is not optional - it seals surfaces, blocks stains, and gives paint something to grip.
Why Paint Fails - and Who's Really to Blame
If a paint job starts peeling, bubbling, or chipping within a year, the temptation is to blame the paint. In reality, adhesion failures almost always trace back to one cause: the surface wasn't ready. Paint is designed to bond to a clean, stable, slightly abraded substrate. When any of those conditions are missing - grease on the wall, dust on the trim, a glossy surface that was never scuffed - the finish coat has nothing to hold onto.
Understanding this shifts the entire approach to painting. The brush work is the easy part. The hour or two you spend preparing the surface determines whether your results look professional a year from now or start flaking by next spring.
Prep Time Varies by Surface Condition
A wall that was freshly painted two years ago needs much less prep than one that's been neglected for a decade. Assess the existing surface honestly before planning your timeline. Surfaces with multiple layers of old paint, widespread peeling, or significant moisture damage may require more repair work than a standard DIY session can handle - and in those cases, consulting a professional painter for an evaluation is a reasonable step.
Step 1: Clean the Surface Thoroughly
Paint cannot bond through contamination. Grease, soap film, mildew, and household dust all act as a barrier between the paint and the substrate beneath it. For interior walls, a diluted solution of dish soap and water, wiped down and allowed to dry fully, removes most surface oils. For kitchens and bathrooms - areas with heavy grease or moisture - a stronger degreaser is worth the extra step.
On exterior surfaces, mildew is a common culprit. A mixture of water and household bleach (typically 3:1 water to bleach) can treat mildew-stained siding before washing. Always rinse thoroughly and allow the surface to dry completely - painting over any moisture is a guaranteed path to failure.
Test Adhesion Before You Commit
Before prepping an entire room, do a quick adhesion test on a small inconspicuous section of the existing surface. Apply a strip of painter's tape, press it firmly, and pull it off quickly. If existing paint comes with it, that surface needs more aggressive sanding or a full stripping before any new paint will hold. This two-minute check can save hours of rework.
Step 2: Sand for Adhesion, Not Just Smoothness
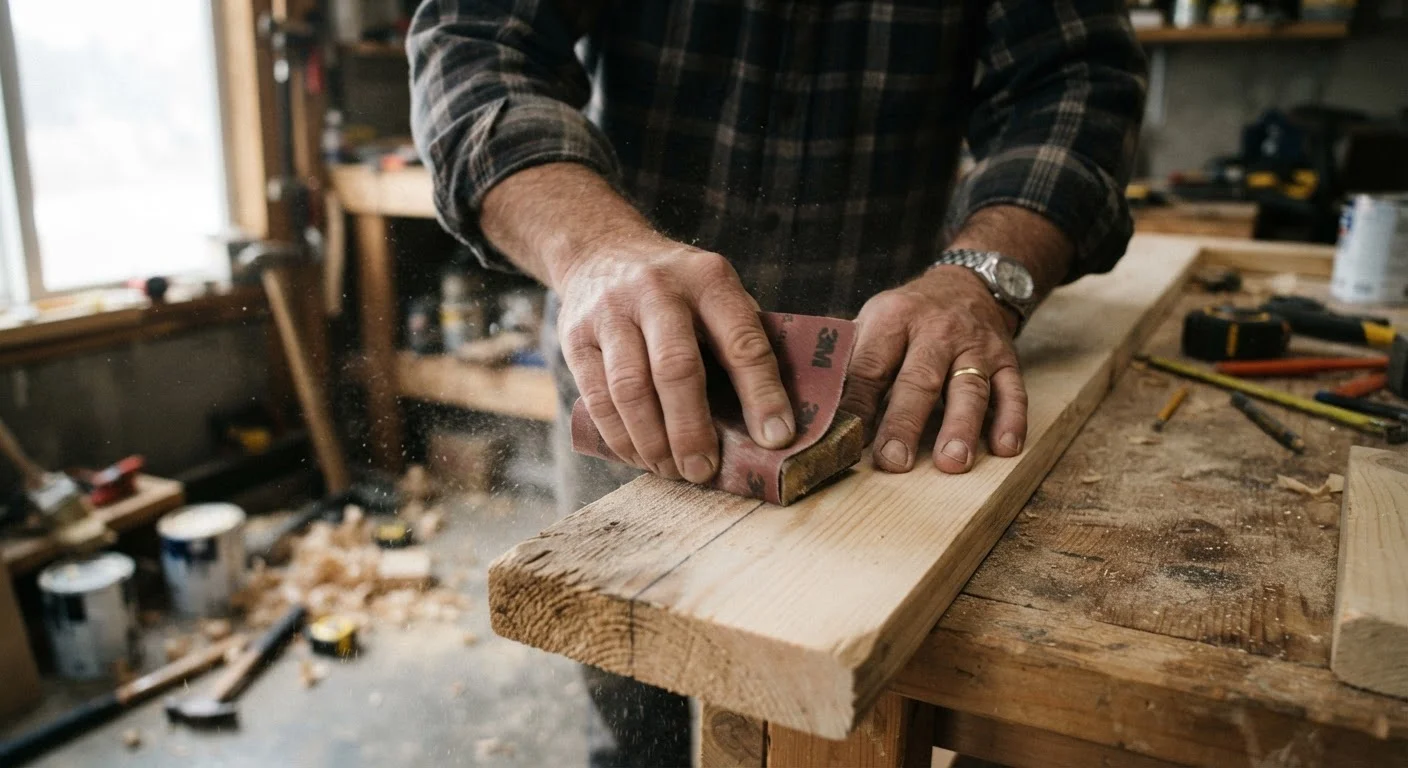
Sanding serves two purposes: it smooths imperfections and it creates microscopic texture - called tooth - that gives paint something to grip. A previously painted surface that's still in good condition just needs a light scuff with 120- to 150-grit sandpaper to dull the sheen. Any glossy surface, old or new, must be sanded before painting or the finish will simply slide off.
For surfaces with peeling or flaking paint, remove all loose material first - scraping, then sanding edges smooth until there's no visible ridge between the bare area and the surrounding paint. Feathering these edges is the step most beginners skip, and it's exactly what causes a visible outline to appear under the new coat.
Always feather-sand edges where old paint has been scraped away.
A sharp edge between bare substrate and existing paint creates a ridge that shows through new coats and is also a weak point where peeling restarts. Feathering blends the transition and gives the new paint a flat, uniform surface to follow.
Let surfaces dry completely before applying any coating.
Moisture trapped under paint expands and contracts with temperature changes, breaking the bond and causing bubbling or peeling. This applies both after cleaning and after any rain or humidity exposure on exterior surfaces.
Spot-prime bare areas before applying the full finish coat.
Bare spots are more porous than surrounding painted areas and will absorb the topcoat unevenly, leaving dull patches that are visible even after the paint dries. Spot priming equalizes the surface absorbency.
Fill and seal cracks or holes before sanding, not after.
Sanding a filled surface smooths the patch to match the surrounding area. If you sand first, the sanding dust settles into the repair material and can prevent it from bonding properly to the patching compound.
Wipe surfaces with a tack cloth after final sanding.
Sanding generates fine dust that settles back onto the surface and interferes with paint adhesion. A tack cloth - a slightly sticky cheesecloth - picks up this dust without adding moisture or residue.
Step 3: Prime - Every Time
Primer is the bridge between a prepared surface and a lasting finish coat. It seals porous materials like bare wood and drywall so paint doesn't absorb unevenly. It locks in stains - water damage, smoke, tannin bleed from wood knots - that would otherwise bleed through even multiple coats of paint. And it gives the topcoat a consistent surface to bond to.
The right primer depends on the surface. Drywall benefits from a PVA (polyvinyl acetate) primer. Bare or weathered wood typically needs an oil-based or shellac-based primer for stain blocking. Previously painted metal needs a rust-inhibiting primer. Using the wrong primer, or skipping it entirely, adds cost and frustration in the long run.
80%+
Paint failures attributed to poor surface prep
Industry painting professionals widely cite surface preparation failures as the leading cause of premature paint adhesion loss.
2-3x
Longer lifespan with proper priming
Paint applied over correctly primed surfaces generally lasts significantly longer than paint applied directly over bare or unprepped substrates.
Quick Wins Before You Open the Can
Even if you're working on a small touch-up rather than a full repaint, a few targeted actions will dramatically improve how the finish holds. These don't require special skills - just a few extra minutes of focused prep.