

Key Takeaways
- Match the repair method to the damage size - spackle for hairline cracks, backing boards for holes over an inch wide.
- Allow each coat of joint compound to dry fully before sanding to avoid shrinkage and surface defects.
- Feathering compound edges outward prevents a visible ridge once the wall is repainted.
- Most drywall patches require priming before paint to prevent sheen inconsistencies.
- A complete basic toolkit makes these repairs achievable without professional help.
What you will need
Understanding Damage Before You Start
Drywall damage generally falls into three categories, and choosing the wrong fix for the damage size is the most common reason patches become visible after painting. A quick assessment before you open any compound saves time and materials.
- Hairline cracks and nail pops: Surface-level stress cracks or fasteners pushing through the paper face. Spackle or lightweight joint compound alone is sufficient.
- Small holes up to 4 inches: Doorknob dents, anchors pulled free, and accidental punctures. Self-adhesive mesh patches or California patch techniques work well here.
- Fist-sized or larger holes: These lack structural backing and need a wood or drywall backer board plus a cut-to-fit drywall piece before any compound is applied.
If you are new to home repairs generally, our first-timer's introduction to home repairs covers the mindset and safety basics worth reviewing before tackling any wall work.
Putty knife or drywall knife (3-6 inch)
Applies and smooths joint compound or spackle into cracks and small holes.
Wide taping knife (10-12 inch)
Feathers compound over larger patches for a flat, even surface.
Drywall screws and screw gun or drill
Secures backing boards and new drywall panels for medium to large hole repairs.
Drywall saw or utility knife
Cuts damaged drywall cleanly to create square edges for patching.
Sandpaper (120- and 220-grit) or sanding sponge
Smooths dried compound between coats and before priming.
Self-adhesive mesh patch or fiberglass tape
Bridges medium holes and cracks to give the compound a stable surface to bond to.
Primer
Seals the repaired area so paint adheres evenly and sheen matches the surrounding wall.
Step-by-Step: Patching Every Damage Type
Follow the steps below in sequence. Steps 1-3 apply to all repairs; steps 4 and 5 apply only to holes wider than roughly one inch. If you are working on a small crack, you can skip ahead to step 6 once the spackle is applied.
Clear and Prep the Damaged Area
Use a putty knife or your fingers to remove any loose paper, crumbling gypsum, or protruding fasteners around the damage. For nail pops, drive the fastener slightly below the surface with a hammer and set screw, then add a new drywall screw 2 inches above and below it to re-secure the panel to the stud.
Clean away dust with a dry cloth. The compound will not bond reliably to a dusty or greasy surface.
Apply the First Coat of Compound
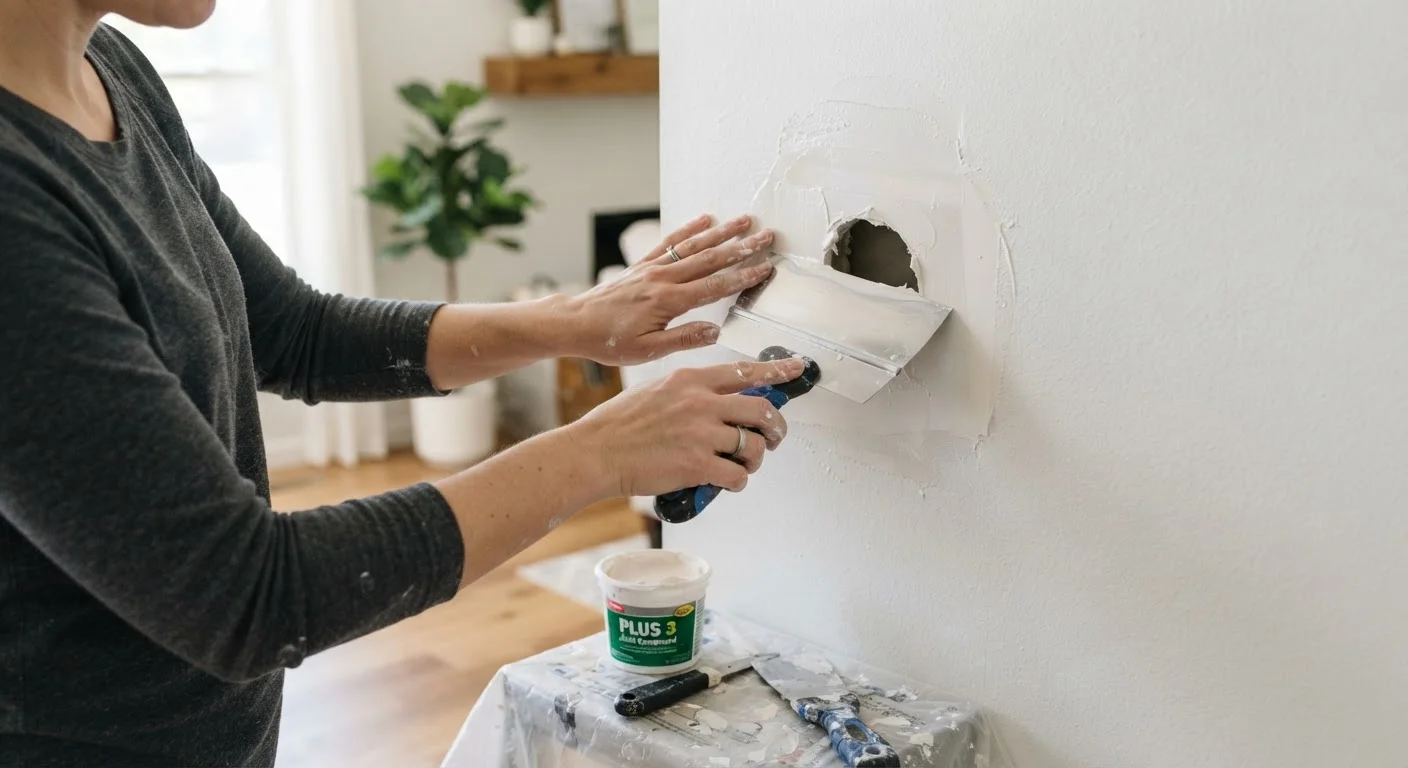
For hairline cracks and nail pops, press a thin layer of lightweight spackle or all-purpose joint compound into the damage using a 3-4 inch putty knife. Scrape the excess flush with the wall surface. You are not trying to build up height here - a thin first coat dries faster and shrinks less.
For holes smaller than 4 inches, apply a self-adhesive mesh patch over the opening, then spread compound over the mesh with a 6-inch knife, working from the center outward.
Let It Dry, Then Sand and Repeat
Allow the first coat to dry completely - typically 4-8 hours at room temperature, longer in humid conditions. The compound changes from a dark gray to a uniform bright white when fully dry. Do not sand wet compound.
Sand lightly with 120-grit paper or a damp sanding sponge, then apply a second thin coat, feathering the edges 3-4 inches beyond the first coat. Most repairs need two to three coats to achieve a flush surface.
Install a Backing Board for Large Holes
For holes wider than approximately 4 inches, cut the damaged area into a clean rectangle or square using a drywall saw or utility knife. Cut a piece of 1×3 or 1×4 lumber a few inches longer than the hole's height. Slide it behind the drywall opening, hold it flush against the back face of the existing drywall, and drive drywall screws through the existing panel into the backer on each side of the hole. This creates a solid surface to attach the patch piece.
Cut and Attach the Drywall Patch
Cut a piece of drywall to fit the opening precisely - a close fit is more important than a perfect fit, since compound will bridge small gaps. Secure the patch to the backer boards with drywall screws spaced every 6-8 inches, driving each screw just below the paper surface without breaking through it.
Apply fiberglass mesh tape over all four seams, then proceed with step 2 (first coat of compound) across the entire patch and seams.
Prime and Paint the Repaired Surface
Once the final compound coat is sanded smooth and free of ridges, apply a coat of drywall primer using a small roller or brush. Let it dry per the manufacturer's label directions, then apply your finish paint. Roll slightly beyond the patch boundary to blend the sheen into the surrounding wall.
Keep Compound Coats Thin
Thick coats of joint compound shrink significantly as they dry, creating a visible depression that needs additional filling. Three thin coats produce a flatter, more durable result than one heavy application. Patience here saves rework.
Curious whether this project is worth your time compared to calling a professional? Our guide on which DIY repairs are worth doing yourself gives a clear breakdown.
Finishing and Blending Into the Existing Wall
A patch that is structurally sound but visually obvious defeats the purpose. The finishing stage - priming and painting - accounts for roughly half of the final result.
Before priming, run your hand lightly across the repair. If you feel any ridge or bump, sand with 220-grit paper and wipe away dust with a barely damp cloth. The surface should feel flush with the surrounding wall, not just look flush under overhead light.
Don't Skip the Primer Step
Painting directly over joint compound - even when it looks dry and smooth - almost always results in flashing: a dull, uneven sheen that shows through paint. A single coat of drywall primer eliminates this problem and ensures the topcoat adheres consistently.
Apply a coat of drywall primer rather than jumping straight to paint. The repaired area is more porous than the existing wall surface and will absorb paint differently, leaving a dull spot called flashing even if the color matches perfectly. One coat of primer eliminates this problem reliably.
Once primed, apply your finish paint in thin coats, feathering at least 6-8 inches beyond the patch boundary to blend the sheen. If you notice the texture of the surrounding wall differs from the patched area - a common issue with older homes - a light stomp texture or skip-trowel technique applied before priming can help disguise the difference. This article focuses on smooth finishes; textured walls may require additional practice on a scrap piece first.