

Key Takeaways
- Most door and window draughts can be sealed without replacing the unit - just the seals and gaps.
- Identifying gap location first saves time and ensures you use the right sealing method.
- Weatherstripping, door sweeps, and flexible sealant each target different draught entry points.
- These are low-cost fixes with a meaningful impact on comfort and heating bills.
- No specialist tools or trade experience required for most sealing tasks.
What you will need
Why Draughts Happen - and Why They're Worth Fixing
Gaps around doors and windows are among the most common sources of heat loss in older homes. Frames shift over time as timber expands and contracts seasonally, seals compress and crack, and factory-installed weatherstripping eventually wears flat. The result is a steady stream of cold air at floor level, around frame edges, and through the gaps where a sash or casement meets its frame.
The good news is that the door or window itself rarely needs replacing. In most cases, the seal between the moving part and its frame is where the problem lies - and those seals are straightforward and inexpensive to renew. Before spending anything, spend a few minutes locating exactly where air is entering. On a cold or windy day, hold a lit incense stick or a thin strip of tissue paper near suspected gaps. Movement confirms the draught location.
What you will need
Choosing the Right Material for Each Gap
Not all gaps are the same shape or location, and the best seal depends on where the draught is entering.
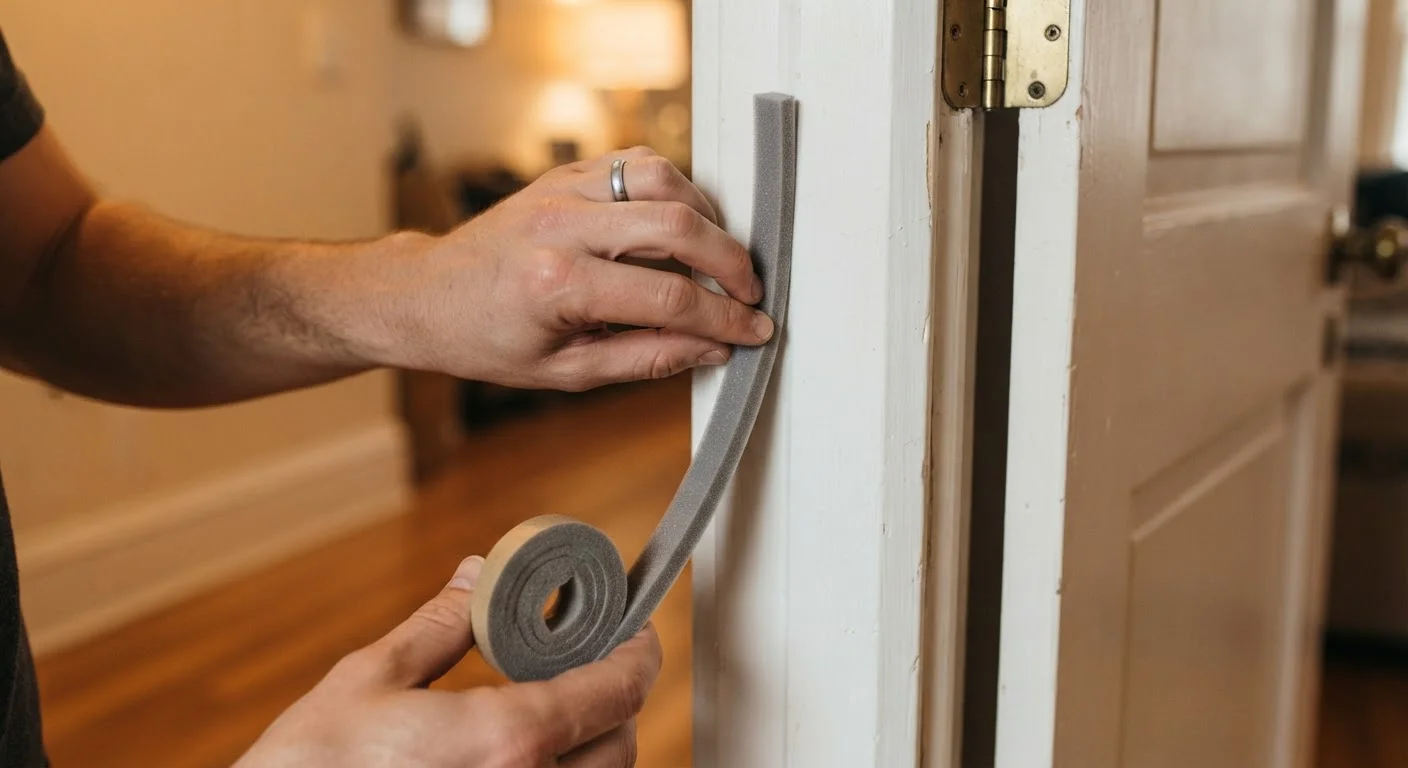
- Compression foam tape - Best for the rebates around hinged doors and casement windows. It compresses when the door closes and springs back when opened. It works well on irregular or slightly out-of-square frames.
- Brush-pile strip - Ideal for sliding sash windows and the edges of doors where a rigid seal would cause friction. The nylon bristles flex, allowing smooth movement while blocking airflow.
- Door sweeps and draught excluder strips - Designed for the bottom of external and internal doors. A rubber or brush sweep attaches to the door's base and wipes against the threshold as the door closes.
- Flexible sealant (silicone or acrylic) - Used for fixed gaps: where a frame meets brickwork or plaster, or around non-opening window surrounds. This is not appropriate for moving parts.
Match Seal Thickness to the Gap Size
Hold the door or window closed and shine a torch along the outside edge at night to see light gaps clearly. Larger visible gaps need a thicker compression seal (around 9-12 mm). Tight-fitting frames with barely perceptible gaps need a thinner profile (3-5 mm) so the door still closes without force.
If a door sticks or binds after adding weatherstripping, the seal is likely too thick. Remove it and try a thinner profile - most hardware stores carry multiple thickness options.
Step-by-Step: Sealing a Door
Follow these steps to weatherstrip an external door efficiently and correctly. The same process applies to interior doors that border unheated spaces such as garages or utility rooms.
Clean the Frame Surface
Wipe down the door stop (the strip the door closes against) with a damp cloth and a little isopropyl alcohol or mild detergent. Remove dust, grease, and any flaking paint. Adhesive-backed weatherstripping will not bond reliably to a dirty or oily surface, so this step directly affects how long the seal lasts.
Measure and Cut the Sealing Strip
Measure the full length of the door stop on the hinge side, latch side, and top. Cut three separate lengths of compression foam or rubber seal to match. Cutting pieces to fit each side separately gives a cleaner join at the corners and prevents bunching, which can prevent the door from closing fully.
Apply the Weatherstripping
Peel back a few centimetres of the adhesive backing and press the strip firmly onto the door stop, working along the length gradually as you peel. Press firmly along the entire strip for a few seconds to activate the adhesive bond. Apply to all three sides: hinge side, latch side, and top.
Fit a Door Sweep at the Base
The gap at the bottom of a door is often the largest single draught entry point. Screw an automatic door sweep or a simple brush sweep to the interior face of the door, flush with the bottom edge. Test the sweep height so it makes firm contact with the threshold when closed but does not drag so heavily it resists opening. Adjust the screw slots before final tightening.
Test and Adjust
Close the door and run your hand around the frame edges at face height and at floor level. Any remaining airflow indicates either a gap in coverage or a section of the frame that is slightly recessed. A tissue-paper test in daylight - holding a strip against the closed gap - will show remaining openings clearly. Adjust or add strip as needed before declaring the job complete.
Sealing Windows and Preventing Future Wear
Window sealing follows a similar logic but requires slightly different materials depending on the window type. For double-hung sash windows, brush-pile strip pressed into the channel where the sash slides provides both draught resistance and a smoother glide. For hinged casements, compression foam tape applied to the window stop - the strip the frame closes against - works the same way it does on a door frame.
For gaps between the window frame and surrounding wall, a bead of paintable acrylic sealant fills the void cleanly and can be painted over once cured. Avoid using silicone sealant in areas you intend to paint, as most silicone formulations do not accept paint adhesion reliably.
Avoid Sealant on Moving Parts
Silicone and acrylic sealants are designed for fixed joints only. Applying sealant to the edge of a door or an opening window will bond the frame shut as the sealant cures. Use sealant only where two surfaces are permanently static - such as where a window frame meets the surrounding wall.
To extend the life of your seals, close doors and windows gently rather than slamming them - repeated hard impact compresses foam tape beyond recovery much faster. Inspect all seals each autumn before heating season, and plan to renew foam tape roughly every three to five years depending on traffic and sun exposure.
For more straightforward home repairs you can handle without outside help, see our guide to patching drywall for a practical approach to another common maintenance job.