

Key Takeaways
- Surface moisture and soap residue are the leading causes of caulk adhesion failure.
- Old caulk must be fully removed before applying a new bead - layering over it always fails.
- Applying caulk in a cold or damp environment significantly shortens its lifespan.
- Choosing the wrong caulk type for the location - such as using paintable caulk in a wet area - causes premature peeling.
- Proper tooling and cure time are as important as surface prep for a lasting seal.
Why Caulk Fails Faster Than It Should
Caulk is one of the most straightforward repair materials in home maintenance, yet it's also one of the most frequently reapplied. Homeowners return to the same joints year after year, wondering why a fresh bead lasts only a few months before it starts lifting, cracking, or growing mold along its edges.
The honest answer is that peeling caulk is almost never a product quality issue. It's a preparation and application problem - and once you understand the specific mistakes that cause failure, they're entirely avoidable. The guidance below covers the most common errors, why they tend to happen, and exactly what to do differently.
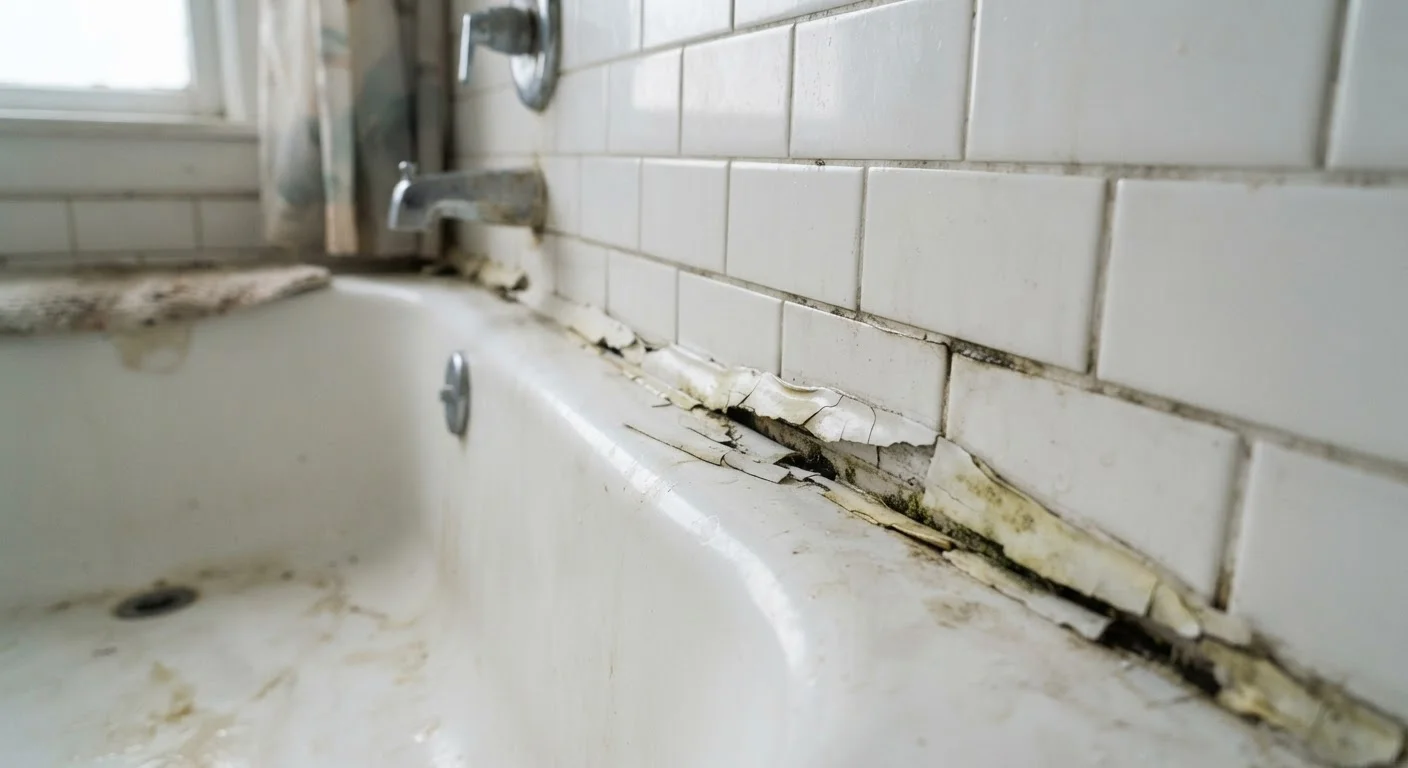
Applying new caulk directly over old caulk without removing it first.
Why it happens: Scraping out old caulk is tedious, and fresh caulk seems to adhere well to the existing bead initially - masking the problem until it peels.
Caulking over a surface that is wet, damp, or recently cleaned with a wet sponge.
Why it happens: Homeowners often clean the area just before recaulking, not realizing that residual moisture prevents proper adhesion.
Leaving soap scum, mildew, or cleaning product residue on the surface before caulking.
Why it happens: The joint may look clean to the eye, but a thin film of soap or cleaner creates a barrier that prevents the caulk from bonding correctly.
Using the wrong type of caulk for the environment.
Why it happens: Many households keep a single tube of all-purpose or paintable acrylic caulk on hand and reach for it regardless of the application.
Applying caulk in a cold room or during winter without accounting for temperature.
Why it happens: Most people don't read the application temperature range on caulk packaging. Cold temperatures slow or prevent proper curing.
Choosing and Applying Caulk Correctly
Beyond avoiding the mistakes above, two factors consistently separate caulk jobs that last from ones that don't: material selection and patience during cure.
For wet areas like tubs, showers, and sinks, use a 100% silicone or siliconized latex caulk rated specifically for kitchens and baths. These formulas resist mildew and remain flexible as surfaces shift with temperature and humidity. Paintable acrylic caulks are designed for trim and dryer interior joints - they absorb moisture and break down quickly in wet environments. If you're unsure which material belongs where in a tiled space, see our guide on grout vs. caulk placement for the structural reasoning behind each material choice.
Once the bead is applied and tooled, resist the urge to use the area immediately. Most bath caulks need a full 24 hours to skin over and up to 72 hours to cure completely before exposure to water. Rushing this step is one of the fastest ways to undo otherwise solid prep work.
Don't Caulk Over Mold or Mildew
If you see black or green mold in the existing joint, sealing over it traps the growth underneath and allows it to continue spreading behind the caulk bead. Treat the area with a diluted bleach solution (follow label safety directions), allow it to dry completely, and confirm all visible mold is gone before applying new caulk. If mold has penetrated the grout or substrate, that damage should be addressed before recaulking.
Consistent application technique also matters. Cut the tube tip at a shallow angle - about 45 degrees - and keep the tube moving at a steady pace while applying light, even pressure. Stopping and restarting mid-bead creates voids and uneven thickness that invite early failure.