

Key Takeaways
- Shutting off the correct utilities before starting a repair is the single most important safety step.
- Knowing your skill limits - and when a job requires a licensed professional - prevents injury and code violations.
- Having all tools and materials gathered before you begin reduces errors and mid-project interruptions.
- Many repairs affecting electrical, gas, or structural systems require a permit regardless of who does the work.
- Personal protective equipment (PPE) appropriate to the task should be on before any work begins.
Summary
22 items · 15-30 minutes
Why Preparation Is the Real First Step
Most DIY injuries and costly mistakes don't happen because a homeowner lacks skill - they happen because someone started before they were ready. A water valve left on, a circuit breaker not confirmed off, or a missing tool that leads to an improvised workaround: these are the root causes of the majority of home repair mishaps.
This checklist is designed to take you through every preparatory step before any hands-on work begins, whether you're patching drywall, replacing a faucet, or installing a ceiling fan. If you're new to home repairs entirely, start with our first-timer's introduction to build foundational confidence first.
Work through the groups below in order. Items marked must are non-negotiable - skip them and you introduce real risk. Items marked should are strongly recommended for a clean, efficient repair. Nice-to-have items improve your process over time.
Utility and Hazard Safety
Personal Protective Equipment (PPE)
Workspace Preparation
Tools and Materials Readiness
Permits and Code Awareness
Scope and Skills Assessment
Tools, Permits, and Knowing Your Limits
One of the most overlooked aspects of preparation is confirming you actually have the right tools before the project is underway. A mid-repair hardware store run wastes time, and improvising with the wrong tool is a leading cause of both damage and injury. Our DIY home repair toolkit guide outlines the core tools worth owning for common household fixes.
Never Assume a Circuit Is Off
Flipping a breaker does not guarantee a circuit is de-energized - mislabeled panels are common in older US homes. Always verify with a non-contact voltage tester before touching wires or terminals. For any work beyond replacing a switch or outlet, seriously consider whether the scope warrants hiring a licensed electrician, as electrical errors can cause fires, shocks, or code violations that are expensive to correct.
Permits are another area homeowners frequently underestimate. Work involving electrical panels, load-bearing walls, gas lines, or plumbing that connects to the main supply typically requires a permit in most US jurisdictions - even if you're doing it yourself. Unpermitted work can create problems when you sell your home or make an insurance claim. Review which repairs typically require a permit before you finalize your plan.
Finally, honest self-assessment matters. Not every repair is worth tackling without professional help - not because the skills are beyond you, but because the risk-to-reward ratio doesn't always favor DIY. Find out which repairs suit confident beginners and which should be handed to a licensed tradesperson.
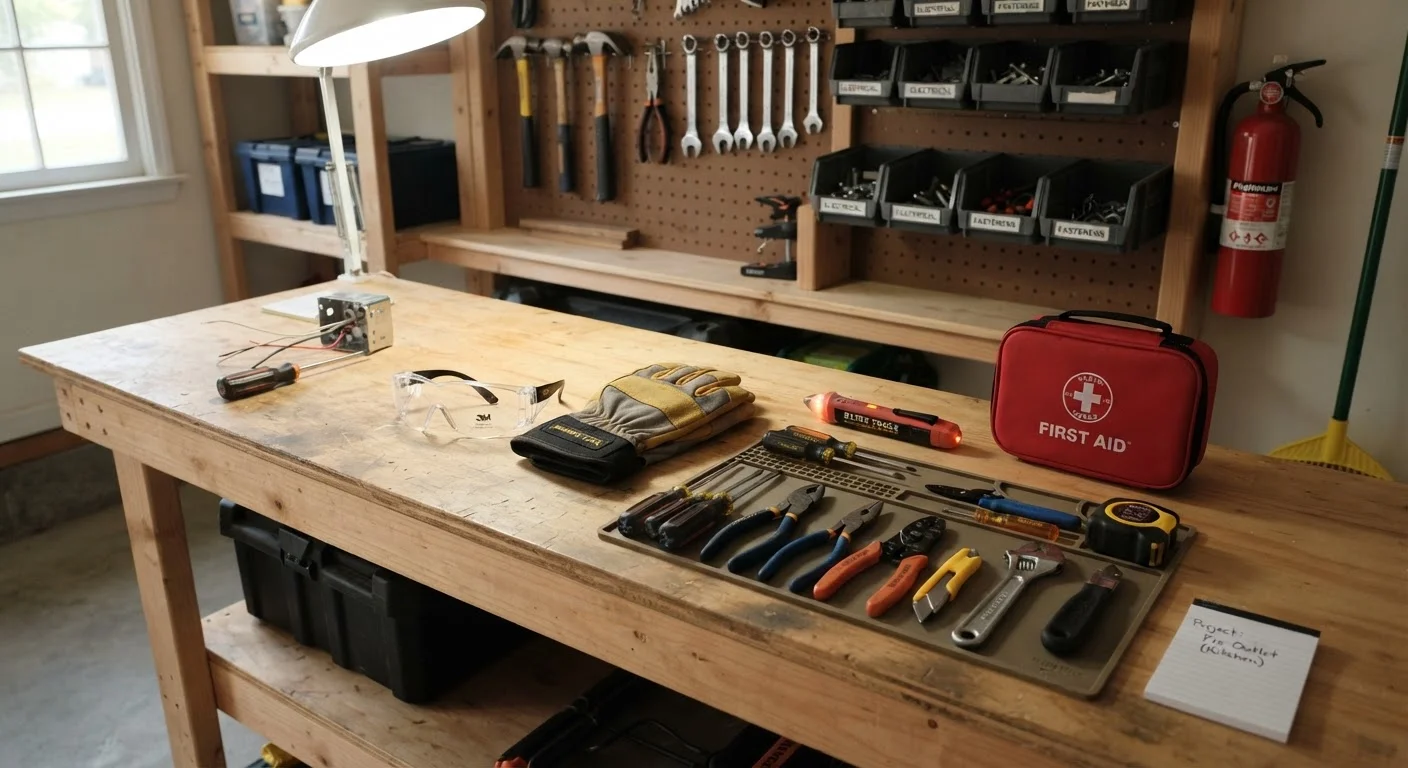
Non-contact voltage tester
Confirms electrical circuits are fully de-energized before you touch any wires or components.
Safety glasses or goggles
Protects eyes from flying debris, dust, and splatter during cutting, drilling, or demolition.
Work gloves
Shields hands from cuts, abrasion, and grip fatigue across a wide range of repair tasks.
Portable work light
Provides focused, bright illumination in dim crawl spaces, cabinets, or poorly lit work areas.
N95 respirator
Filters fine dust and particulates when sanding, cutting drywall, or disturbing insulation.
First aid kit
Provides immediate access to bandages and antiseptic for minor cuts or scrapes during the repair.
Drop cloths or plastic sheeting
Protects floors and furnishings from dust, debris, and spills throughout the project.