

Key Takeaways
- Six essential fluids can be checked at home with no tools beyond a clean rag.
- Always check fluids when the engine is cold or fully cooled to get accurate readings.
- Low or discolored fluid often signals a problem worth investigating before it worsens.
- Topping up with the wrong fluid type can cause serious and expensive damage.
- Regular driveway checks complement - but do not replace - professional servicing.
What you will need
Why Driveway Fluid Checks Matter
Most fluid-related breakdowns don't happen without warning - they follow weeks or months of gradual decline that a quick driveway check would have caught early. Unlike a full service, these checks cost nothing but a few minutes and require no mechanical expertise. They sit at the foundation of smart, cost-conscious car ownership.
Understanding what's under your hood doesn't mean you need to fix everything yourself. It means you catch problems early, communicate clearly with your mechanic, and avoid the kind of deferred maintenance that turns a small issue into a large invoice. As a complement to professional servicing - see what mechanics inspect during a standard service - routine self-checks give you a far more complete picture of your vehicle's health.
These checks also directly affect safety. Brake fluid, coolant, and tire pressure (not covered here but equally important) all have a direct line to how your vehicle performs in an emergency. For a broader view of safety-relevant checks, the pre-journey vehicle checklist is a useful companion resource.
What you will need
What You'll Need
The good news: fluid checks require almost nothing in the way of equipment. A clean rag, your owner's manual, and 15 minutes are the core requirements. The items below will make the process easier and cleaner.
Owner's Manual
Identifies the correct fluid specifications and dipstick or reservoir locations for your specific vehicle.
Clean Lint-Free Rag
Used to wipe dipsticks clean before re-inserting for an accurate fluid level reading.
Flashlight or Headlamp
Helps you see fluid level markings and fluid color inside reservoirs in shaded engine bays.
Nitrile Gloves
Protects hands from brake fluid and other chemicals that can irritate skin.
Step-by-Step Fluid Checks
Work through the checks in the order below. The sequence is designed to keep you away from the hottest engine components at the start and moves toward the lower-risk fluids toward the end. Always consult your owner's manual if a component location isn't immediately obvious - engine bay layouts vary considerably by make and model.
Park safely and let the engine cool
Pull onto a flat, level surface and switch off the engine. Wait at least 10-15 minutes before opening the hood. A hot engine skews fluid readings and poses a burn risk - particularly around the coolant reservoir.
Check engine oil
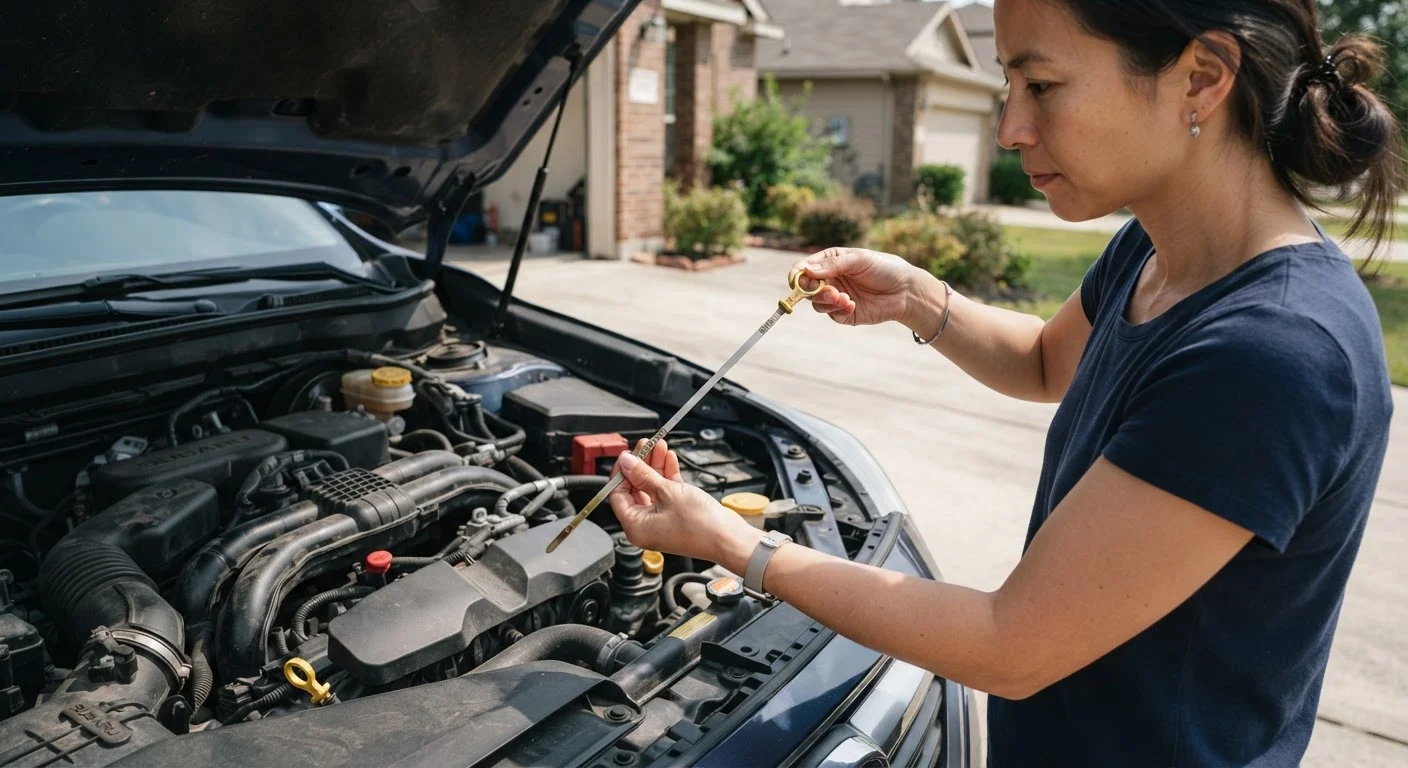
Locate the oil dipstick (usually a brightly colored ring near the center of the engine bay). Pull it out, wipe it clean with your rag, reinsert it fully, then withdraw it again. The oil level should fall between the MIN and MAX marks. Note the color too - fresh oil is amber; very dark or gritty oil suggests it's overdue for a change.
Inspect coolant (antifreeze) level
Find the translucent plastic coolant reservoir - it's usually near the radiator and will have MIN/MAX lines you can read without opening it. The fluid should be between those lines and appear green, orange, or pink depending on the type your vehicle uses. Cloudy or oily-looking coolant warrants professional attention.
Check brake fluid
The brake fluid reservoir sits on top of the master cylinder, typically near the firewall on the driver's side. Most reservoirs are translucent; you can read the level through the casing. Fluid should sit between MIN and MAX marks. Brake fluid darkens with age and moisture absorption - very dark fluid is a sign it may be due for a change. A consistently low level can indicate a leak or worn brake pads and should be assessed by a qualified mechanic.
Check power steering fluid (if applicable)
Many newer vehicles use electric power steering and have no fluid to check. If your car has hydraulic power steering, locate the reservoir (your manual will point you to it) and check the level against the dipstick or translucent markings. The fluid should be clear to light amber. A whining noise when turning the wheel is a common sign of low fluid.
Inspect windshield washer fluid
The washer fluid reservoir is usually marked with a windshield or spray icon. This is the one fluid where there's no serious mechanical consequence to running low, but an empty reservoir on a dirty-road drive is a real visibility hazard. Top up with a purpose-made washer fluid - do not use plain water in climates where freezing is a risk.
Check transmission fluid (automatic transmissions)
Not all vehicles have an accessible transmission dipstick - some sealed units require a dealer check. Where a dipstick exists, the process mirrors the oil check: wipe, reinsert, withdraw, and read. For most automatics, the reading should be taken with the engine warmed up and running in Park. Refer to your owner's manual for the specific procedure, as this varies more than other checks.
Build a Simple Fluid Log
Keep a small notebook in your glove box and jot down fluid levels with a date each time you check. Spotting a gradual downward trend - particularly with oil or coolant - is far easier when you have a reference point. Even a three-entry history can help a mechanic diagnose a slow leak faster.
Interpreting What You Find
Fluid checks are only useful if you act on what you see. Here's a quick-reference guide to common findings:
- Oil that is very dark and gritty: Likely overdue for a change. Not an emergency, but schedule one soon.
- Coolant that appears milky or oily: Could indicate a head gasket issue - have a mechanic inspect it promptly.
- Brake fluid that is consistently low: Do not simply top up. This can signal worn pads or a leak.
- Any fluid with an unusual smell or color: Flag it with your mechanic at the next service.
Wrong Fluid Can Cause Serious Damage
Each system uses a fluid with a specific formulation. Using the wrong oil viscosity, mixing coolant types, or adding the incorrect brake fluid grade can compromise performance and lead to costly repairs. Always cross-reference your owner's manual before topping up any reservoir. When in doubt, ask a mechanic rather than guessing.
Skipping these checks is one of the common habits that quietly shorten a car's lifespan. Fluid degradation is cumulative - catching it early is almost always cheaper than reacting late.
Persistent Low Levels Need Professional Attention
If a fluid level drops noticeably between checks - especially brake fluid or coolant - that's not normal and should not simply be topped up repeatedly. A consistent drop typically indicates a leak or internal issue. Have the vehicle inspected by a qualified mechanic before the problem escalates.
For a broader look at everything worth examining during a seasonal review, seasonal car checks every driver should know covers items beyond fluids that are easy to overlook. And if you want to go deeper on what else sits under the hood, under-the-hood items drivers most often overlook is worth a read.