

Key Takeaways
- A 2-3 inch mulch layer suppresses weeds, retains soil moisture, and moderates soil temperature.
- Organic mulches like wood chips and straw break down over time, gradually feeding the soil.
- Keeping mulch a few inches away from plant stems prevents rot and disease.
- Mulching is one of the most cost-effective low-effort habits a budget gardener can build.
- Reapply mulch once or twice a year as it decomposes to maintain its benefits.
What you will need
Why Mulching Is Worth Your Time and Money
Mulch does several jobs at once - and that's exactly why it's one of the most cost-effective habits in home gardening. A properly applied layer of organic material slows moisture evaporation from the soil surface, meaning you water less often. It also moderates soil temperature, keeping roots cooler in summer heat and insulated during early frosts. Over time, organic mulches decompose and feed the soil ecosystem below, improving structure and nutrient availability naturally.
The weed suppression benefit alone can save hours of work across a single growing season. Weed seeds need light to germinate; a consistent 2-3 inch mulch layer blocks that light reliably for most common annual weeds. Some perennial weeds with established roots will still push through, which is why clearing the bed beforehand matters.
For budget-conscious gardeners, mulching also reduces the reliance on supplemental watering and synthetic fertilizers. Our comparison of compost and store-bought fertilizer explores how organic inputs like decomposing mulch can reduce what you spend on soil amendments over time. If you're also thinking about how to structure your garden for maximum efficiency, see our guide on raised beds vs. in-ground planting.
Source Free or Low-Cost Mulch Locally
Many municipal composting programs and tree services offer free wood chips to homeowners - check your local parks department or utility company. Fallen leaves shredded with a mower make excellent free mulch in autumn and are particularly beneficial for soil biology. See more low-cost garden improvements for additional budget-friendly strategies.
How to Mulch Your Garden Beds Correctly
Getting the benefits of mulch depends mostly on applying it at the right depth, choosing an appropriate material, and keeping it away from plant stems. The steps below work for standard garden beds - ornamental borders, vegetable plots, and the base zones around shrubs and small trees alike.
What you will need
Garden fork or hand rake
Spreads and levels mulch evenly across the bed surface.
Wheelbarrow or garden trug
Transports bulk mulch to the garden bed efficiently.
Measuring tape or ruler
Checks mulch depth to ensure the 2-3 inch target layer is met.
Garden gloves
Protects hands from splinters, mold spores, and skin irritation during handling.
Clear and prepare the bed
Pull any existing weeds by the root - mulch suppresses new weed germination but won't kill weeds already established. Remove dead plant material and rake the soil surface lightly to level it. If the soil is very dry, water it lightly before applying mulch so you're locking in some existing moisture rather than sealing in dry dust.
Choose your mulch material
Organic mulches are generally preferred for garden beds because they improve soil as they decompose. Common options include:
- Wood chips: Long-lasting, excellent for trees and shrubs, widely available free from tree services.
- Straw: Lightweight and ideal for vegetable beds; breaks down faster than wood chips.
- Shredded leaves: Free, soil-friendly, and particularly good for improving soil biology.
- Grass clippings: Useful in thin layers; thick layers can mat and block water penetration.
Avoid dyed or treated wood mulches near edible plants, and steer clear of peat-based products, which have a high environmental cost and offer limited benefit over alternatives.
Apply mulch at the right depth
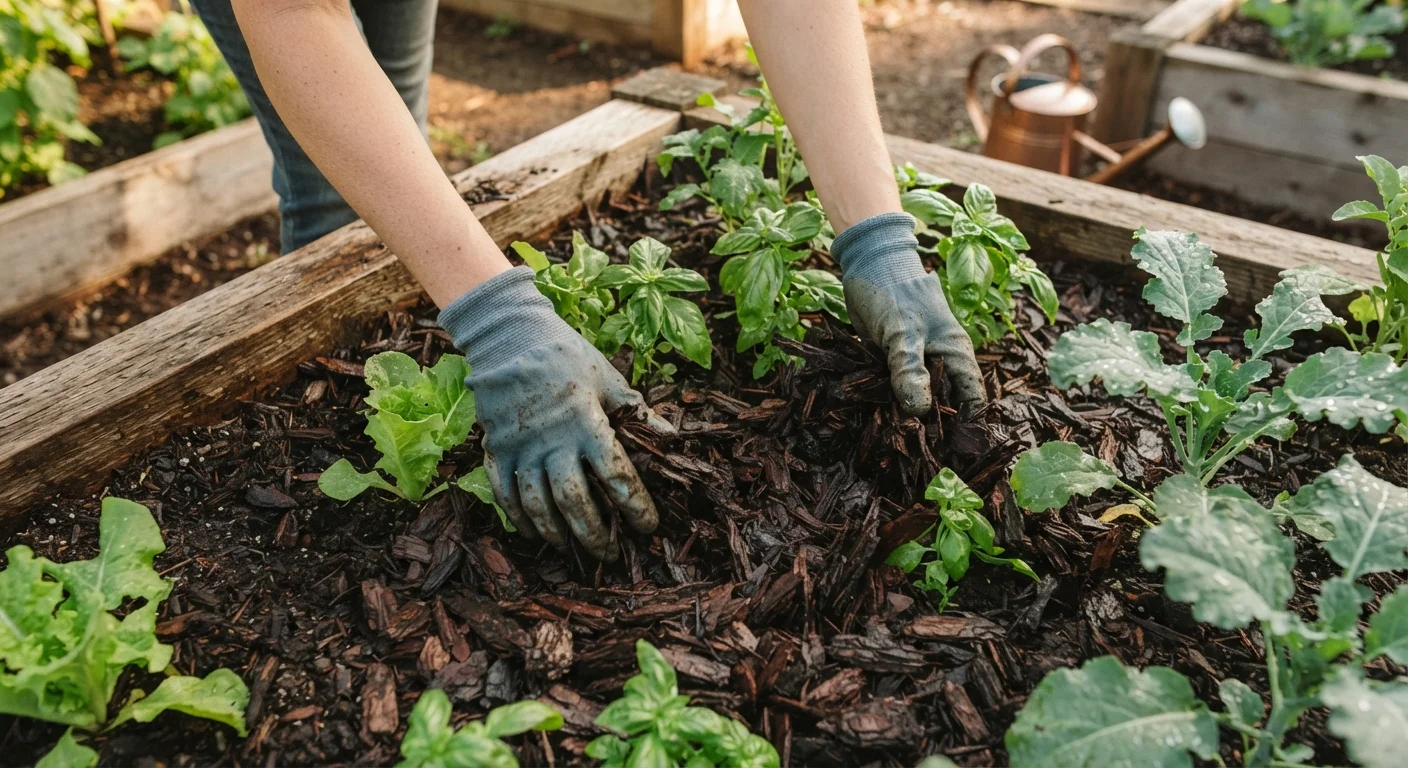
Spread mulch evenly across the bed to a depth of 2-3 inches. This is the range that effectively suppresses weeds and retains moisture without suffocating soil or creating overly anaerobic conditions. Use a rake or gloved hands to distribute evenly.
For fine-textured mulches like grass clippings, stay toward the lower end (1-2 inches) to prevent matting.
Keep mulch clear of stems and trunks
Pull mulch back at least 2-3 inches from the base of every plant, shrub, or tree in the bed. Maintaining this gap allows air circulation at the soil surface, prevents bark and stem rot, and discourages pests like slugs and voles from nesting right against your plants.
Water the mulch layer in (if needed)
If you're using a loose, dry mulch like straw or wood chips and conditions are windy or very dry, give the bed a light watering after application. This helps the mulch settle into position and reduces the chance of it blowing away before it beds down. Established beds with heavier wood chip mulch typically don't need this step.
Plan to refresh annually
Organic mulch breaks down over time - which is actually beneficial for your soil - but means the layer thins. Check depth each spring and again in early fall. Top up to restore the 2-3 inch layer. You don't need to remove old mulch first; simply add on top. The decomposing lower layer is already feeding soil organisms and improving structure.
Never Pile Mulch Against Plant Stems
"Mulch volcanoes" - thick mounds piled directly against tree trunks or plant bases - trap moisture against bark and stems, promoting rot, fungal disease, and pest harborage. Always leave a gap of 2-3 inches between the mulch layer and any stem or trunk. This single habit prevents the most common mulching mistake homeowners make.
Avoid Mulching Wet or Diseased Soil
If your garden bed is already waterlogged, adding mulch will trap excess moisture and may worsen root problems. Similarly, avoid mulching over soil that contains diseased plant debris - the material can harbor pathogens under the mulch layer. Address drainage or disease issues before applying a fresh layer.
For a broader look at how mulching fits into a lower-effort yard overall, see our article on building a low-maintenance garden. And if you want to understand the soil biology your mulch is feeding, Soil Health 101 is a natural next read.